Bite-Sized Sweetheart Cheese Balls
Highlighted under: Homemade Dessert Recipes
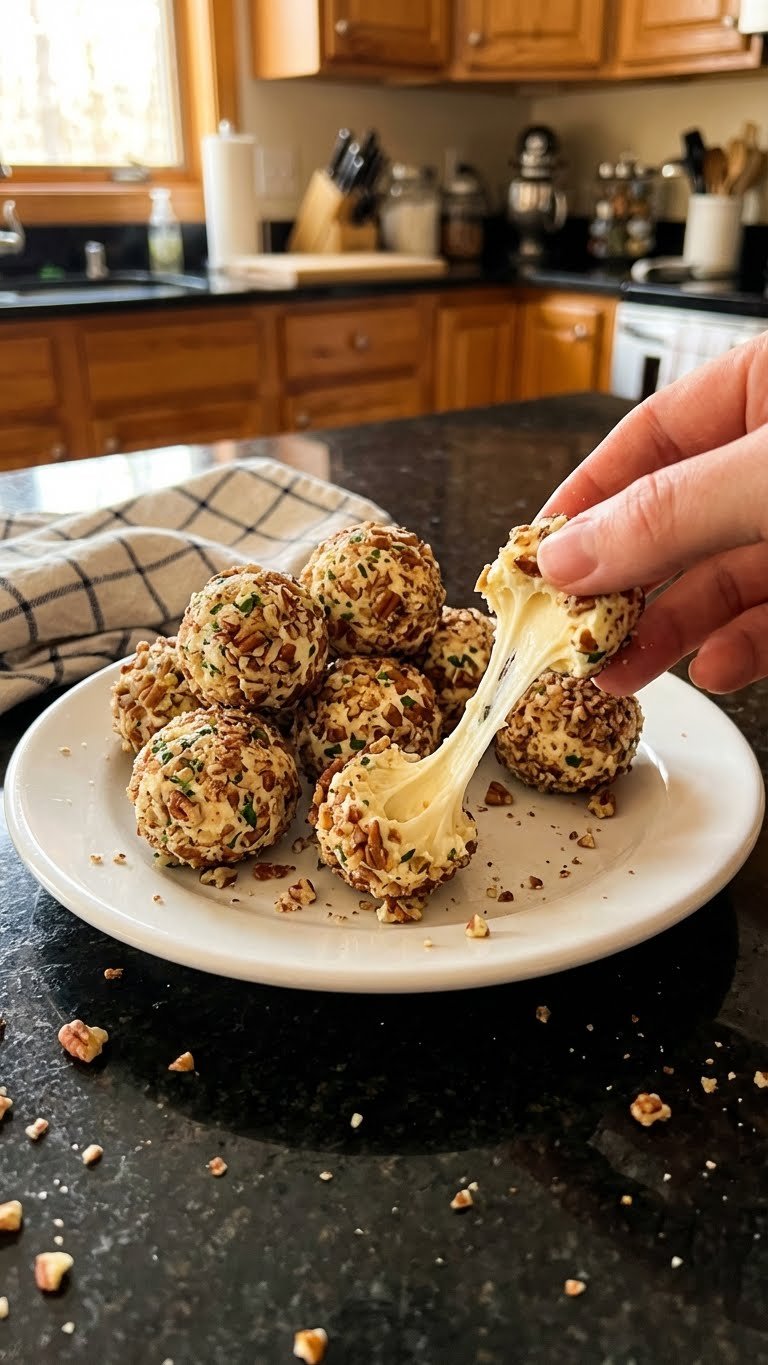
I love making Bite-Sized Sweetheart Cheese Balls for gatherings, as they are not only delicious but also visually appealing. These little treats have a rich, creamy texture that pairs perfectly with a hint of tangy flavor from fresh herbs and spices. Rolling them in crushed nuts or colorful herbs gives them an eye-catching finish. Whether it's for a romantic dinner or a fun party, these cheese balls are bound to impress and delight everyone at the table. They are always the centerpiece of conversation and help bring smiles all around!
Creating these Bite-Sized Sweetheart Cheese Balls was an exciting culinary adventure. I started experimenting with different cheese blends, finally settling on a mix of cream cheese and sharp cheddar. This combination offers a wonderful balance of creaminess and flavor. One of my favorite tips is to use softened cheese; it makes the balls easier to mix and helps them hold their shape.
As I rolled each ball in a variety of toppings like chopped herbs, crushed nuts, and even colorful sprinkles, I realized how versatile this recipe could be. Each topping changes the flavor, making them suitable for any occasion. The next time I made them, I added a touch of garlic powder for an extra kick!
Why You'll Love This Recipe
- Creamy, savory flavor that ignites the taste buds
- Quick to prepare, making them perfect for last-minute gatherings
- Versatile toppings for endless personalization
Creating the Perfect Cheese Mixture
To achieve the ideal texture for your cheese balls, it's crucial to have your cream cheese properly softened. This allows for a smooth and creamy consistency when mixed with the sharp cheddar. If your cream cheese is too cold, you may end up with lumps that won't blend well. Ideally, let it sit at room temperature for about 30 minutes before mixing, or give it a quick zap in the microwave for about 10 seconds if you're pressed for time.
The herbs and spices are not just for flavor but also add depth to the cheese mixture. Fresh chives and parsley contribute a bright, herbaceous note, making each bite more complex. If you prefer stronger flavors, consider substituting the parsley with a bit of finely chopped dill or using a smoked cheddar instead of sharp for an exciting twist.
Rolling and Coating Techniques
When forming the cheese balls, aim for uniform size—about a teaspoon is perfect. This ensures even coating and consistent flavor with every bite. Use your palms to gently roll the mixture into balls; if your hands become sticky, consider dampening them slightly with water to make the process smoother. It’s also helpful to prepare your toppings before forming the balls so you can roll them immediately, which prevents the cheese from softening too much.
For the coating, using crushed nuts adds a delightful crunch and contrast in texture. I personally love a mix of almonds and pecans for their rich, nutty flavors. If nuts aren't an option due to allergies, try rolling the cheese balls in finely crushed pretzels for a salty kick, or even a blend of breadcrumbs and spices for a new twist.
Make-Ahead and Serving Suggestions
These cheese balls are perfect for making ahead of time. Once you’ve rolled them in the toppings, you can store them in an airtight container in the refrigerator for up to two days before your event. Just remember to keep them separated with parchment paper to avoid sticking. If you plan to serve them at room temperature, let them sit out for about 15 to 20 minutes before serving, which enhances the flavors as they warm slightly.
When it comes to serving, presenting these cheese balls on a decorative platter can elevate their appearance. You can accompany them with a selection of crackers, breads, or sliced vegetables for dipping. Another creative idea is to serve with an array of flavored jams or chutneys that complement the savory cheese, such as fig jam or a spicy pepper jelly, for an exciting flavor contrast.
Ingredients
Ingredients
For the Cheese Balls
- 8 oz cream cheese, softened
- 4 oz sharp cheddar cheese, grated
- 2 tablespoons fresh chives, finely chopped
- 1 tablespoon fresh parsley, finely chopped
- 1 teaspoon garlic powder
- Salt and pepper to taste
For Topping
- 1/2 cup crushed nuts (almonds, walnuts, or pecans)
- 1/2 cup finely chopped herbs (basil, cilantro, or thyme)
- 1/4 cup colorful sprinkles (optional)
Instructions
Instructions
Prepare the Cheese Mixture
In a mixing bowl, blend the softened cream cheese and grated cheddar using a hand mixer or spatula until smooth and creamy. Add the chopped chives, parsley, garlic powder, salt, and pepper, mixing well to incorporate.
Form the Cheese Balls
Scoop small portions (about a teaspoon) of the cheese mixture and roll them into bite-sized balls using your hands. Place the formed balls on a plate lined with parchment paper.
Add the Toppings
On a separate plate, spread out the crushed nuts and chopped herbs. Roll each cheese ball in the toppings until evenly coated. For a fun twist, feel free to use colorful sprinkles for a festive look.
Chill and Serve
Refrigerate the cheese balls for at least 30 minutes to firm up. Serve them on a platter as an appetizer or at a party, and watch them disappear!
Pro Tips
- For a creamier texture, let the cheese balls sit at room temperature for about 10 minutes before serving. This enhances the flavor and makes them even more enjoyable.
Variations to Explore
While the classic flavors in this recipe are delightful, don't hesitate to get creative! For a smoky flavor, incorporate a teaspoon of smoked paprika into the cheese mixture. Alternatively, a pinch of red pepper flakes can add a nice, gentle heat that works well with the creaminess of the cheeses. You can also experiment with different cheese combinations, such as feta for a tangy twist or goat cheese for a creamy, earthy flavor.
Think seasonal when it comes to herbs. In the summer, basil and chopped sun-dried tomatoes could introduce a fresh taste, while in the fall, sage and a touch of nutmeg can provide a seasonal feel. The beauty of these cheese balls lies in their versatility, allowing you to adapt the recipe to suit available ingredients or themed gatherings.
Troubleshooting Common Issues
If your cheese balls aren't holding their shape, one common reason might be that the cream cheese is too soft or the mixture is too warm. Always make sure to chill the cheese balls for at least 30 minutes after rolling them to help set their shape. If you find the mixture crumbly, you can easily fix this by adding a little extra cream cheese to bind it together.
Another tip for preventing flavor overpowering or underwhelming is to taste your cheese mixture before rolling into balls. Adjust the seasoning as needed, as different cheeses can vary in saltiness. If you find that the garlic powder flavor is too potent, balance it by adding a bit more cream cheese or cheddar until it's just right for your palate.
Questions About Recipes
→ Can I make these cheese balls ahead of time?
Absolutely! You can prepare the cheese mixture and form the balls a day in advance. Just coat them with toppings right before serving to maintain freshness.
→ What can I use instead of cream cheese?
You can use mascarpone cheese for a richer flavor or a dairy-free cream cheese substitute to make this recipe vegan-friendly.
→ Can these cheese balls be frozen?
Yes, you can freeze the cheese balls before coating them. Just thaw them in the fridge before rolling in toppings and serving.
→ What are some other topping ideas?
Feel free to experiment with other toppings such as bacon bits, everything bagel seasoning, or even crushed pretzels for an extra crunch!
Bite-Sized Sweetheart Cheese Balls
Created by: The Chefwoven Team
Recipe Type: Homemade Dessert Recipes
Skill Level: Easy
Final Quantity: 24 bite-sized cheese balls
What You'll Need
For the Cheese Balls
- 8 oz cream cheese, softened
- 4 oz sharp cheddar cheese, grated
- 2 tablespoons fresh chives, finely chopped
- 1 tablespoon fresh parsley, finely chopped
- 1 teaspoon garlic powder
- Salt and pepper to taste
For Topping
- 1/2 cup crushed nuts (almonds, walnuts, or pecans)
- 1/2 cup finely chopped herbs (basil, cilantro, or thyme)
- 1/4 cup colorful sprinkles (optional)
How-To Steps
In a mixing bowl, blend the softened cream cheese and grated cheddar using a hand mixer or spatula until smooth and creamy. Add the chopped chives, parsley, garlic powder, salt, and pepper, mixing well to incorporate.
Scoop small portions (about a teaspoon) of the cheese mixture and roll them into bite-sized balls using your hands. Place the formed balls on a plate lined with parchment paper.
On a separate plate, spread out the crushed nuts and chopped herbs. Roll each cheese ball in the toppings until evenly coated. For a fun twist, feel free to use colorful sprinkles for a festive look.
Refrigerate the cheese balls for at least 30 minutes to firm up. Serve them on a platter as an appetizer or at a party, and watch them disappear!
Extra Tips
- For a creamier texture, let the cheese balls sit at room temperature for about 10 minutes before serving. This enhances the flavor and makes them even more enjoyable.
Nutritional Breakdown (Per Serving)
- Calories: 102 kcal
- Total Fat: 8g
- Saturated Fat: 4g
- Cholesterol: 20mg
- Sodium: 115mg
- Total Carbohydrates: 4g
- Dietary Fiber: 0g
- Sugars: 1g
- Protein: 4g